InLattice AP/AR Automation
The simplest way to automate your accounting process
Customer Account Center for QuickBooks Online
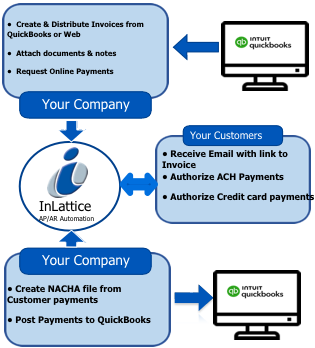
Go Beyond Online Invoicing
Provide online access to Customer Invoices and Receive Payments
Provide online access customer to invoices
Customer can access invoices through email link
Attachment, Notes can be added to invoices
Track document history
Online payment option with ACH, PayPal, Authorize.Net
Posts payments to QuickBooks
The process includes registration, one time setup of customer accounts, importing invoices and providing online access to customers.
How it Works?
-
- If you have QuickBooks Online account already, go to step Register with InLattice. Otherwise, register your QuickBooks Online account

Registration screen of QuickBooks Online account
- After registration, login to your QuickBooks Online account and create your company.

Screen of Login to QuickBooks Online account
- Add customer and vendor in your QuickBooks Online company.
- Register with InLattice.
- When you login first time to InLattice, the screen shown below gives the option to link your InLattice account with your QuickBooks Online account.
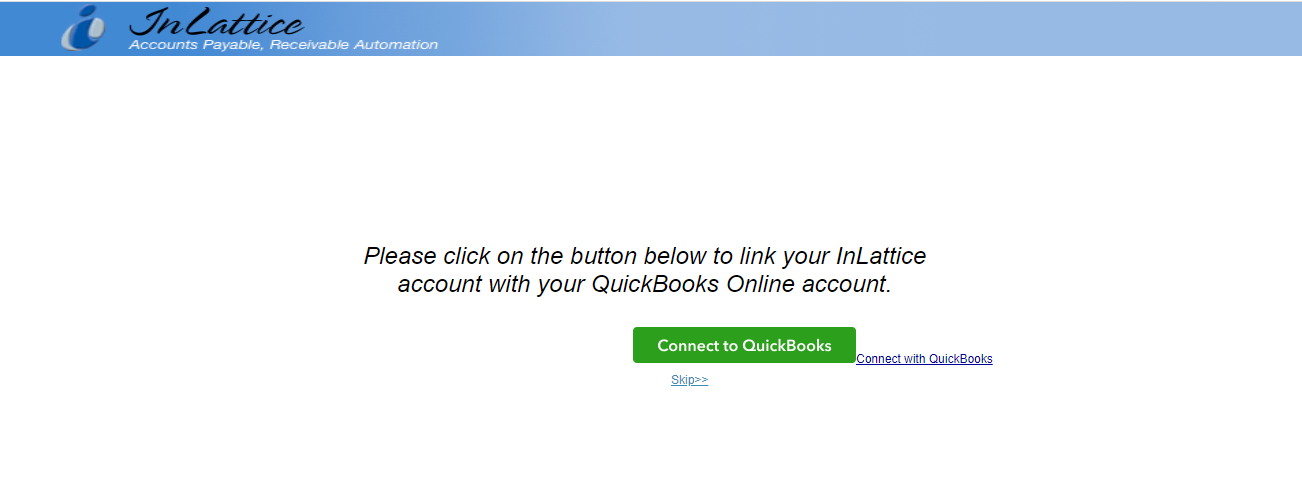
Connect to QuickBooks Online account Screen
- If you have not logged in to QuickBooks Online account, you will be prompted to login and select the company.
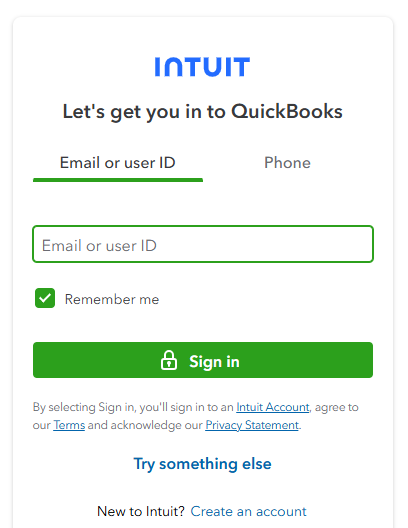
QuickBooks Online account login Screen
- After successful login, you will be asked to authorize the connection of your QuickBooks Online account with your InLattice account.
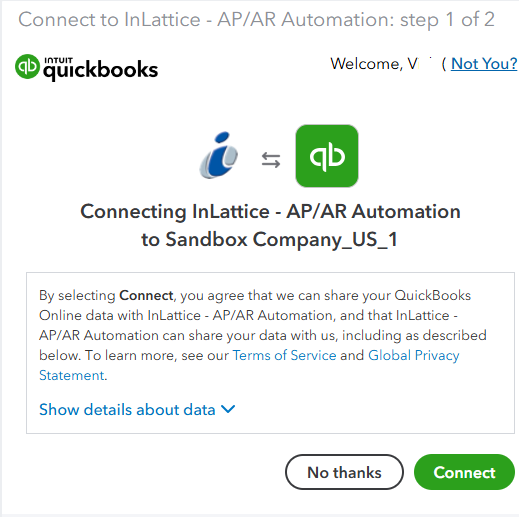
Authorization Screen
- After authorization, your QuickBooks Online account connection data is saved with Inlattice.
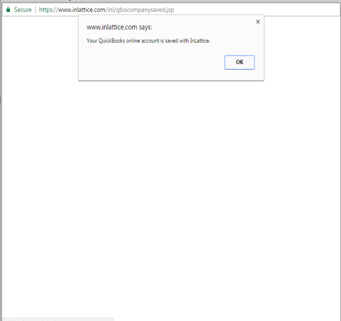
- Click on OK, you will be redirected to your InLattice account
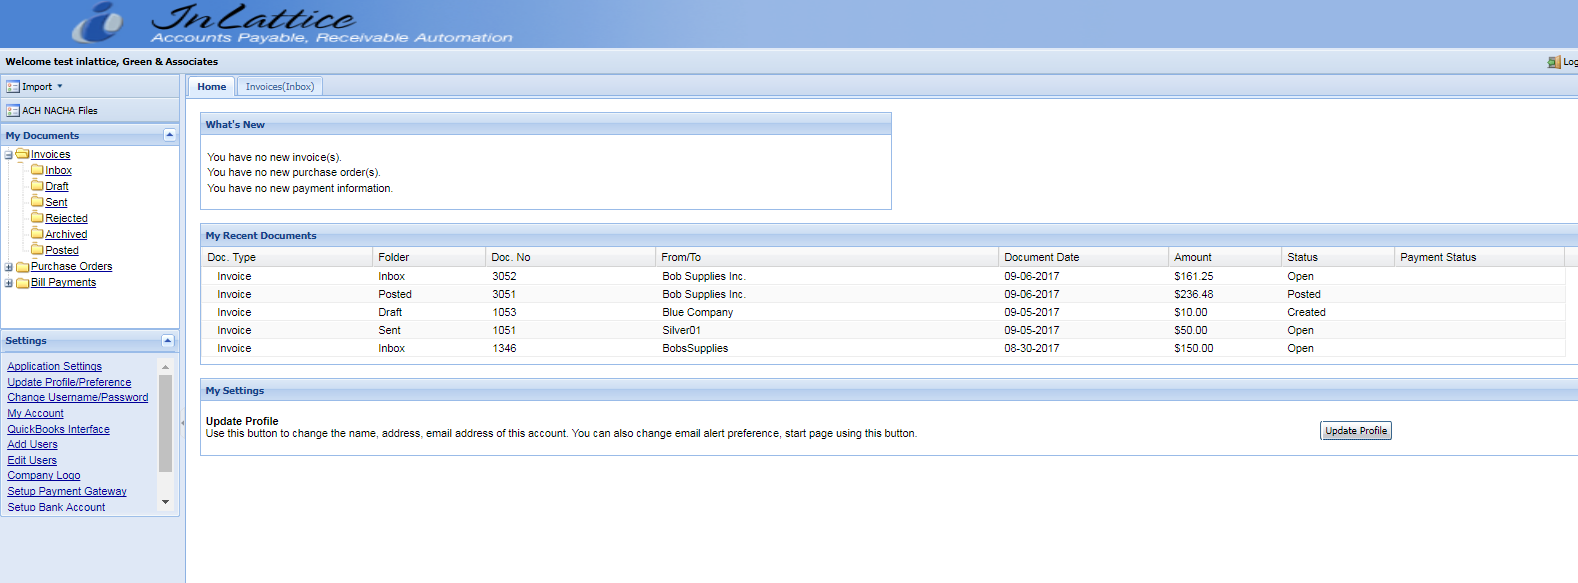
InLattice account Screen
- Upload QuickBooks Customer List – This can be done using InLattice > Settings > QuickBooks Interface > Refresh Customer list option.
- Setup Customer Accounts in InLattice – Go to Settings > Add users to add customer accounts to InLattice. You will receive email notification with customer user id and password. (InLattice Support Team can set up user accounts, after the customer list is uploaded to InLattice)

Settings > Add Users > Add Customers Screen (Bank information is optional)
- Enter Invoice Extract Begin Date – Go to Settings > QuickBooks Interface >Enter Invoice Extract Begin Date and enter a date.
- Upload QuickBooks Customer List
- Setup New Customer Accounts in InLattice
- Set Up Customer Bank account info (optional)
- Create Invoices for the customers in QuickBooks.
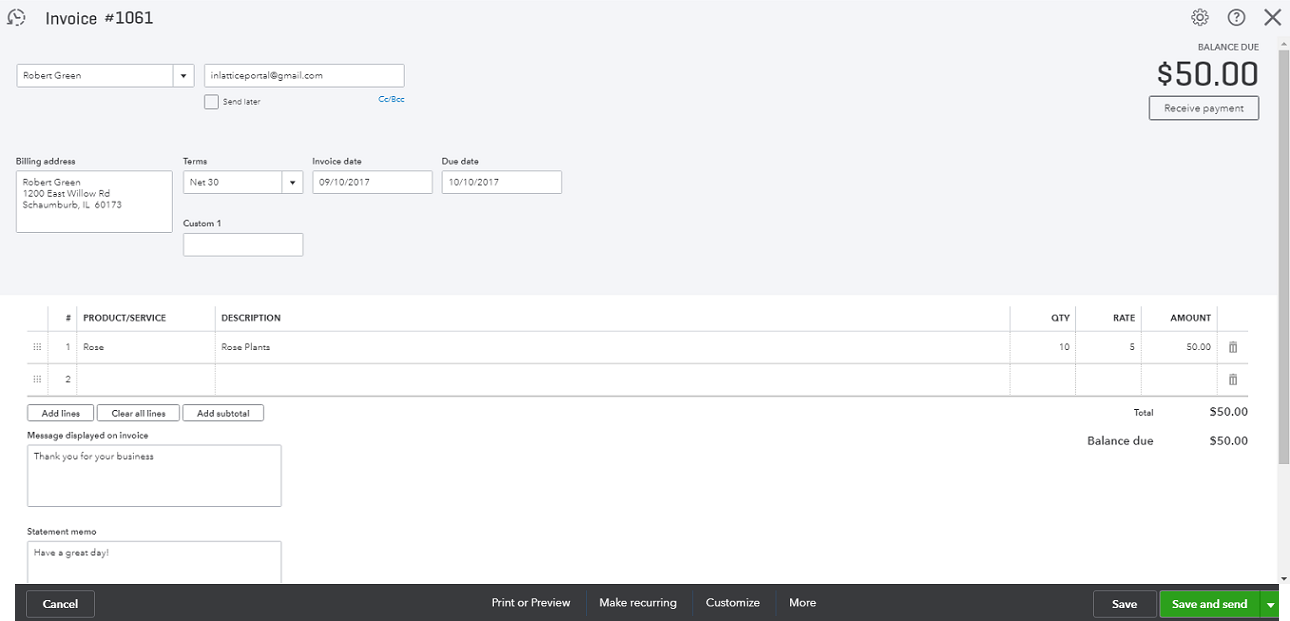
Create > Invoices
-
- Login to InLattice account
- Click on Import > Invoices

Import > Invoices
- All invoices created in QuickBooks since last import will be uploaded to InLattice > Invoices > Draft folder. You will be directed to Invoices > Draft folder
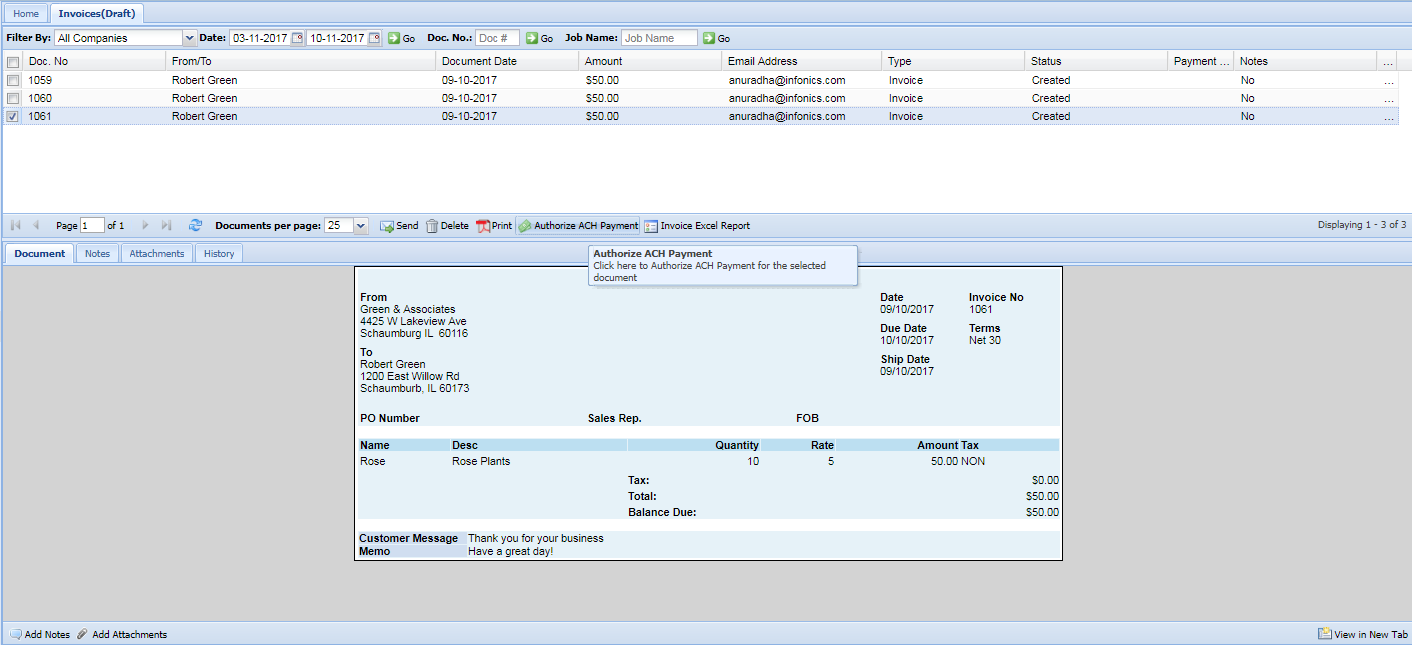
Invoices > Draft folder > Select entries to Authorize payments
- Attach any supporting documents
- Send the invoices to customer.
- Customers will get an email notification.
- Customer can click on the link to view the invoices
- Export Payments to QuickBooks. Invoices will be marked as paid, if online payment is enabled.
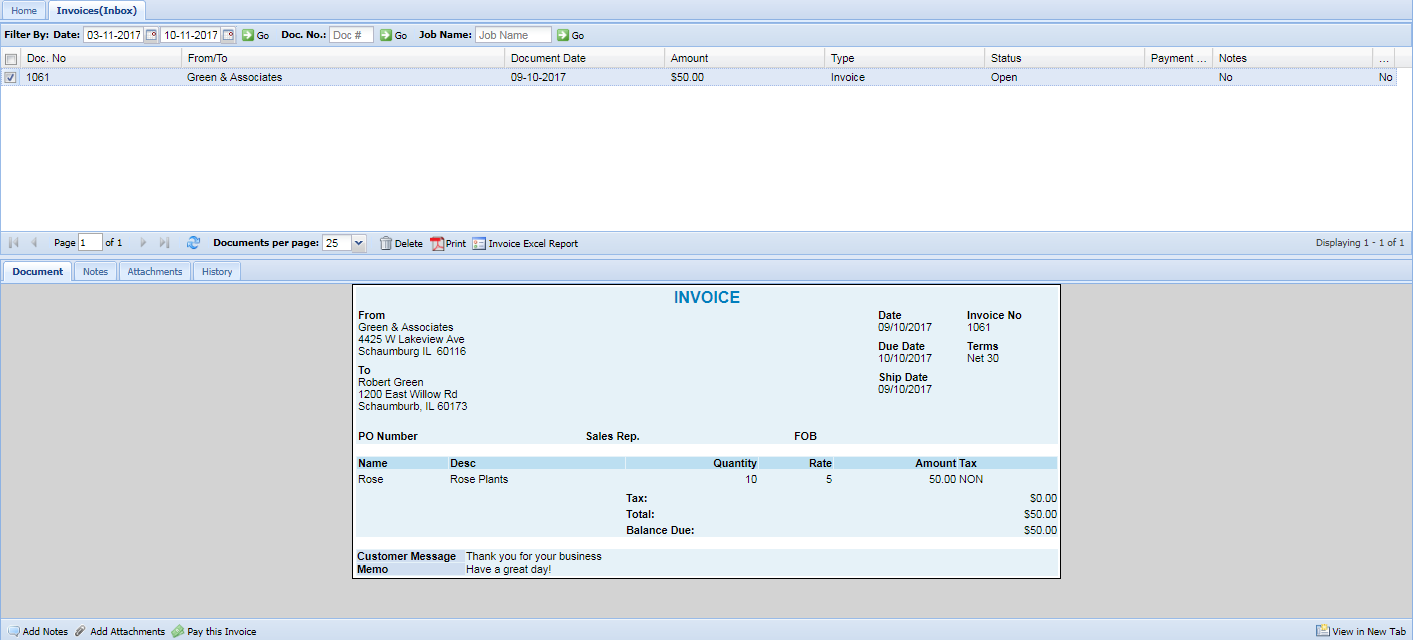
Customer viewing invoices:
![]()
- Customer will receive the email alert
- Customer can click on the email link to view the invoice.
Email Notification received by customer
- Also, by logging into the online portal, customer can view all invoices received.
- If online payment option is set up, customer can authorize payments online.
Invoices > Inbox folder > Customer can view the invoice online
For additional support, please contact us at support@inlattice.com